
making bryce quinlan and hunt athalar
This first blurb is all backstory, you really don’t need to read this is you’re just interested in the costume build. :)
This year, I started doing something I haven’t done for a long time.
Reading.
Prior to the year 2023, I probably hadn’t read a full book that wasn’t for college since high school. But something about my journey through attempting to improve my mental health and also find better sleep, I found myself reading in the evenings or during travel to try and get myself into a more restful or at ease mindset. A mindset of visual imagination.
However, some things don’t change even from high school. In middle and high school I read a lot. But they were 95% strictly vampire romance novels. I can’t tell you why, but I really loved them. So when I decided to start reading again, it started with a booktok favorite in Iron Widow. It got me in the mood for … more romance fantasy. So I read a few other shorter books before stumbling into the world of A Court of Thrones and Roses. I read through those books quickly despite me being a … slow reader on a good day, and someone who was new-ish to reading books. After finishing that series, I was interested in more “romantasy” and found myself picking up the other books from Sarah J Maas, leading me to Crescent City. I can’t say that any of the Sarah J Maas heroines are my favorite heroines, but boy-howdy does she know how to make you imagine one of the sexiest men alive.
Some time past after getting caught up with the Maas novels, and I was on a trip to Cedar City Utah for a Shakespeare festival with my husband. While we were at a game store to play some games with his family, I saw a poster boasting a “star fall ball” with a graphic of a mountain adorned with 3 stars above it. At this point in time, I had already made my night court logo for my Rhysand candles and stickers, and was familiar with the motif, so jokingly sent a picture of the poster to my husband.
”lol, wouldn’t it be funny if this was acotar themed”
Jokes on me, because it was. I couldn’t tell if I thought it was ridiculous or the coolest thing imaginable. I guess the upside to book people is they’re way more likely to host something like a fantasy ball for their fandom, compared to a lot of my experience with video game and anime fandoms. While I was browsing their site and their instagram, I saw that they were hosting a cosplay contest. And I think in reality, within seconds, it was decided. I was going to go to this event dressed as Bryce and make my husband be Hunt.
Here is where you can come in if you care about my build for the costumes.
Why Bryce and Hunt when the event is clearly about ACOTAR? … iykyk.
ALSO, they’re just my favorite characters and story out of the lot.
So I began embarking on this journey, with only a month to make the costumes, AND starting a new day job.
I used to cosplay a lot in 2012-2016. I previously worked for a theater doing sewing, wigs, and makeup. So I’m not INSANELY out of my element, just INSANELY out of practice.
I’d made 2 costumes for my husband and I the year before. genderbent Meg and Zagreus from Hades and also Yor and Loid Forger from Spy x Family. This didn’t seem like it would be as difficult, but it definitely was going to be … different.

The biggest part of arguably both of our costumes was just Hunt’s wings. So I studied up and tried to make myself familiar with the best way to make something that I had NEVER made before.
I predominantly took inspiration from 3 people/tutorials. I mostly drooled over Lightning Cosplay's foam wings, took a lot of base build ideas from Alyson Tabbitha, and based the harness design off of Frekki Cosplay's tutorial.
You probably could just read all of these and glean what I did, but in case you want to know how I made everything, I’ll outline the rough process here.
So to break it all down into steps I knew I was going to have to:
1. Build a harness that could distribute the weight from the wings and keep them secure.
2. Build a base/”meat” of the wings using PVC pipe that could fit into the flagpole holders on the harness.
3. Cut and attach a LOT … a LOOOOT of feathers.
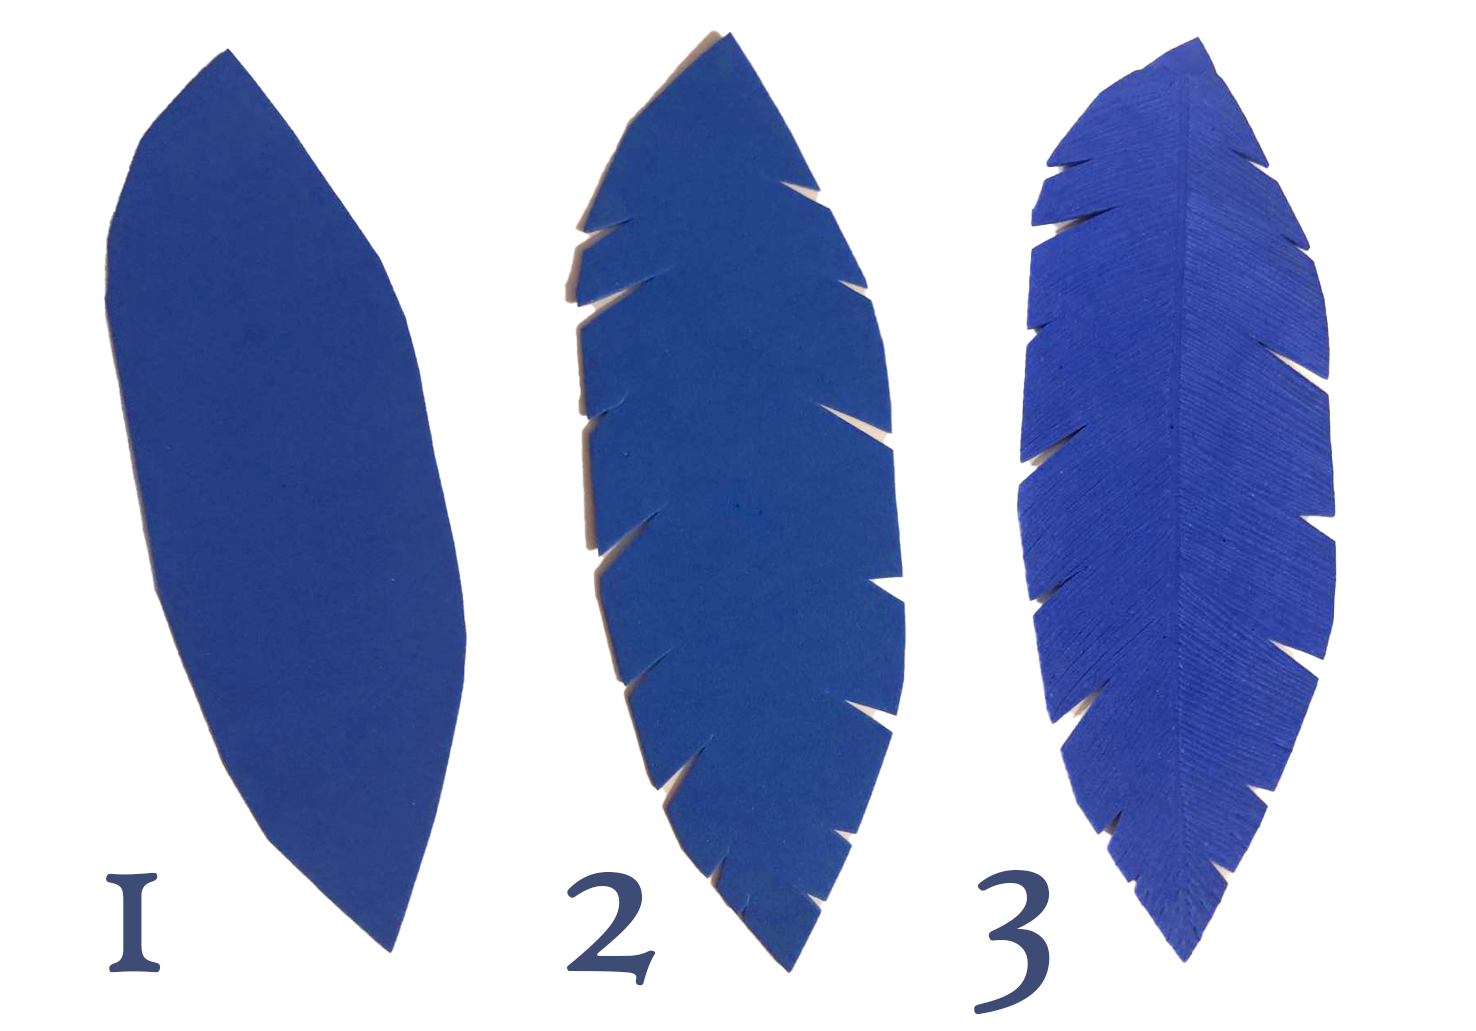
So the thing that I started with was the one that needed the most amount of time dedicated to it, and that was cutting out the feathers. As much as I drooled over how Lightning Cosplay made hers, I do not have the space or means for a laser cutter, so I had to cut them all by hand. I just cut the shape, cut little spaces in between, and then scored “veins” into each of the 2mm thick foam. I hand cut all of them separately and different sizes to keep them all as organic looking as possible and not have a lot of overlap.
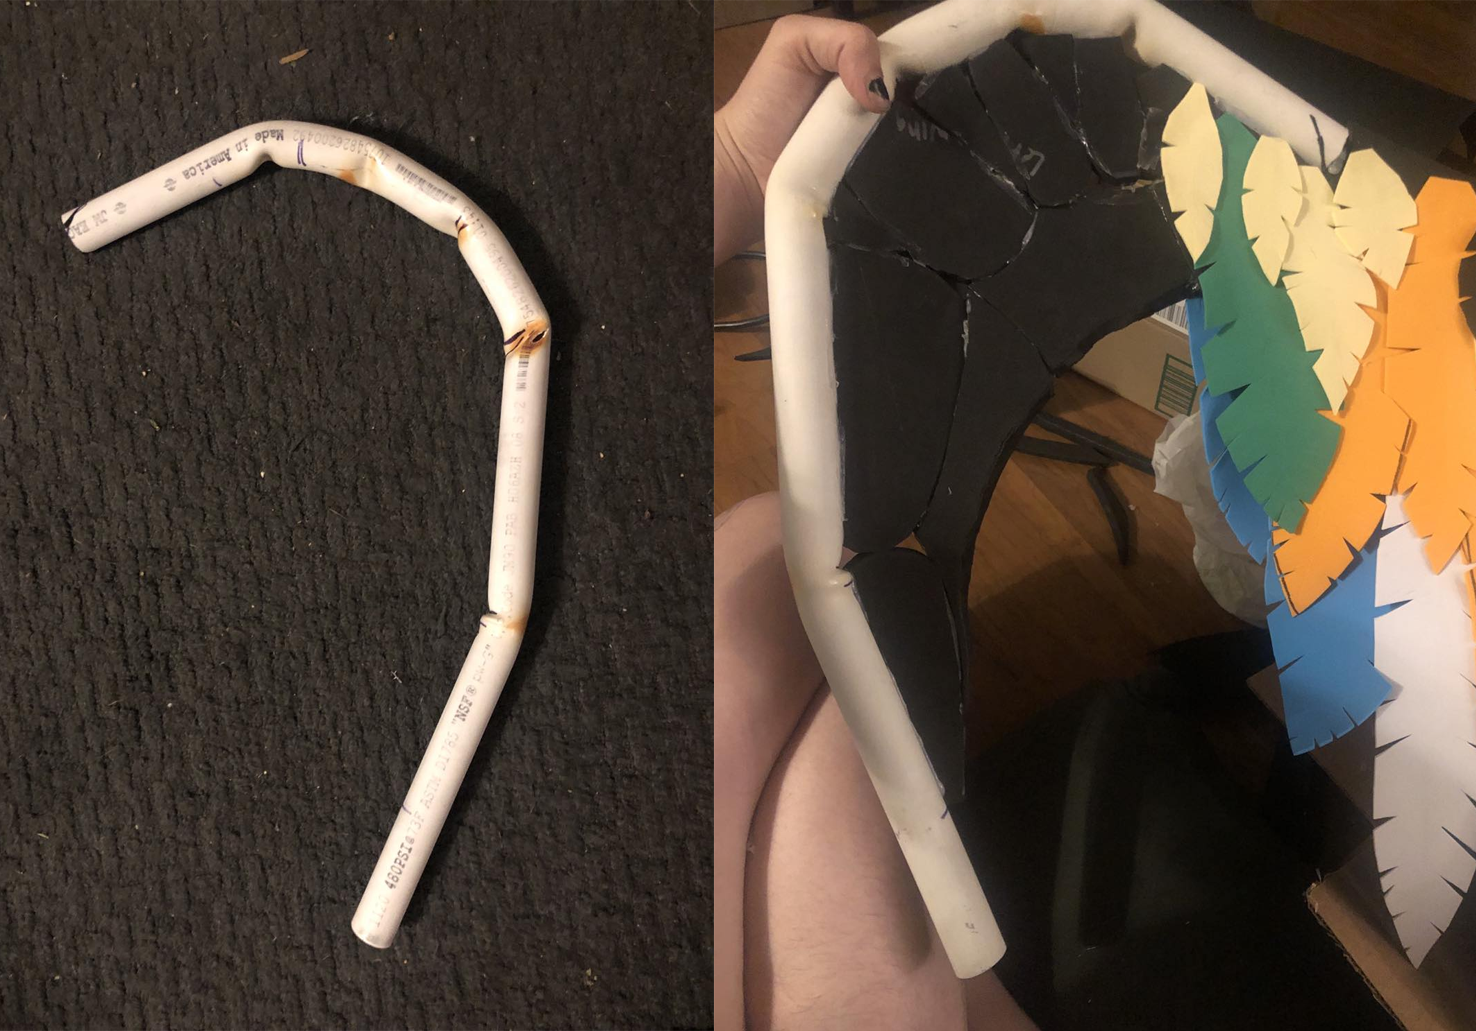
The next part that ended up being the hardest part and the part where the project “failed” in my mind was the “skeleton” with the PVC and the “meat” of the wings. Basically the PVC was harder to bend than I had thought it would be and even harder to make even on both wings. I AFTER finishing this project saw a tiktok of someone making wings, and they had used clamps to do the holding and bending while heating the PVC, and were able to get much more rigid bends from that extra power, and I think if I could redo this project I would use either elbows sold for PVC in plumbing as well as that clamping strategy. My PVC ends up looking like the image below, which did the job, but the curve ended up not having the move “realistic wing” look that I had hoped for.
Once the PVC was curved, I was able to make the meaty portions. I had patterns for these, but when the PVC didn’t bend how I had wanted it to, I ended up just kind of … free forming onto it. If you’re able to use contact cement, I would recommend that for this step, but as I was making this whole project in my own home, I was a tacky and hot glue gamer.
The outer third of the wing that needed to be thinner than PVC would allow is just foam with wire on the inside, so that it can bend to curl. I cut out a piece of that top to insert and glue into the PVC so it would stay secure.
Once the “skeleton” and the “muscle” of the wing is in place, it’s just time to start placing your 226 individually cut and carved feathers! :) (Yes, that number was the final count at the end of this projects. Numbers will vary based on wing size.)
Something you can do but honestly isn’t necessary, is I put wire backing on the outermost feathers, so that they can also bend and hold shape. It also helped make them a bit sturdier. You could just as reasonably double up the foam feathers on those ones, but since I had painstakingly scored BOTH sides of those long outer feathers already, I opted for this route.
Work from the outside in so that your layers look like actual feathers. Works large to small as you go inward.

Enjoy a nice little Apollo butt appearance.
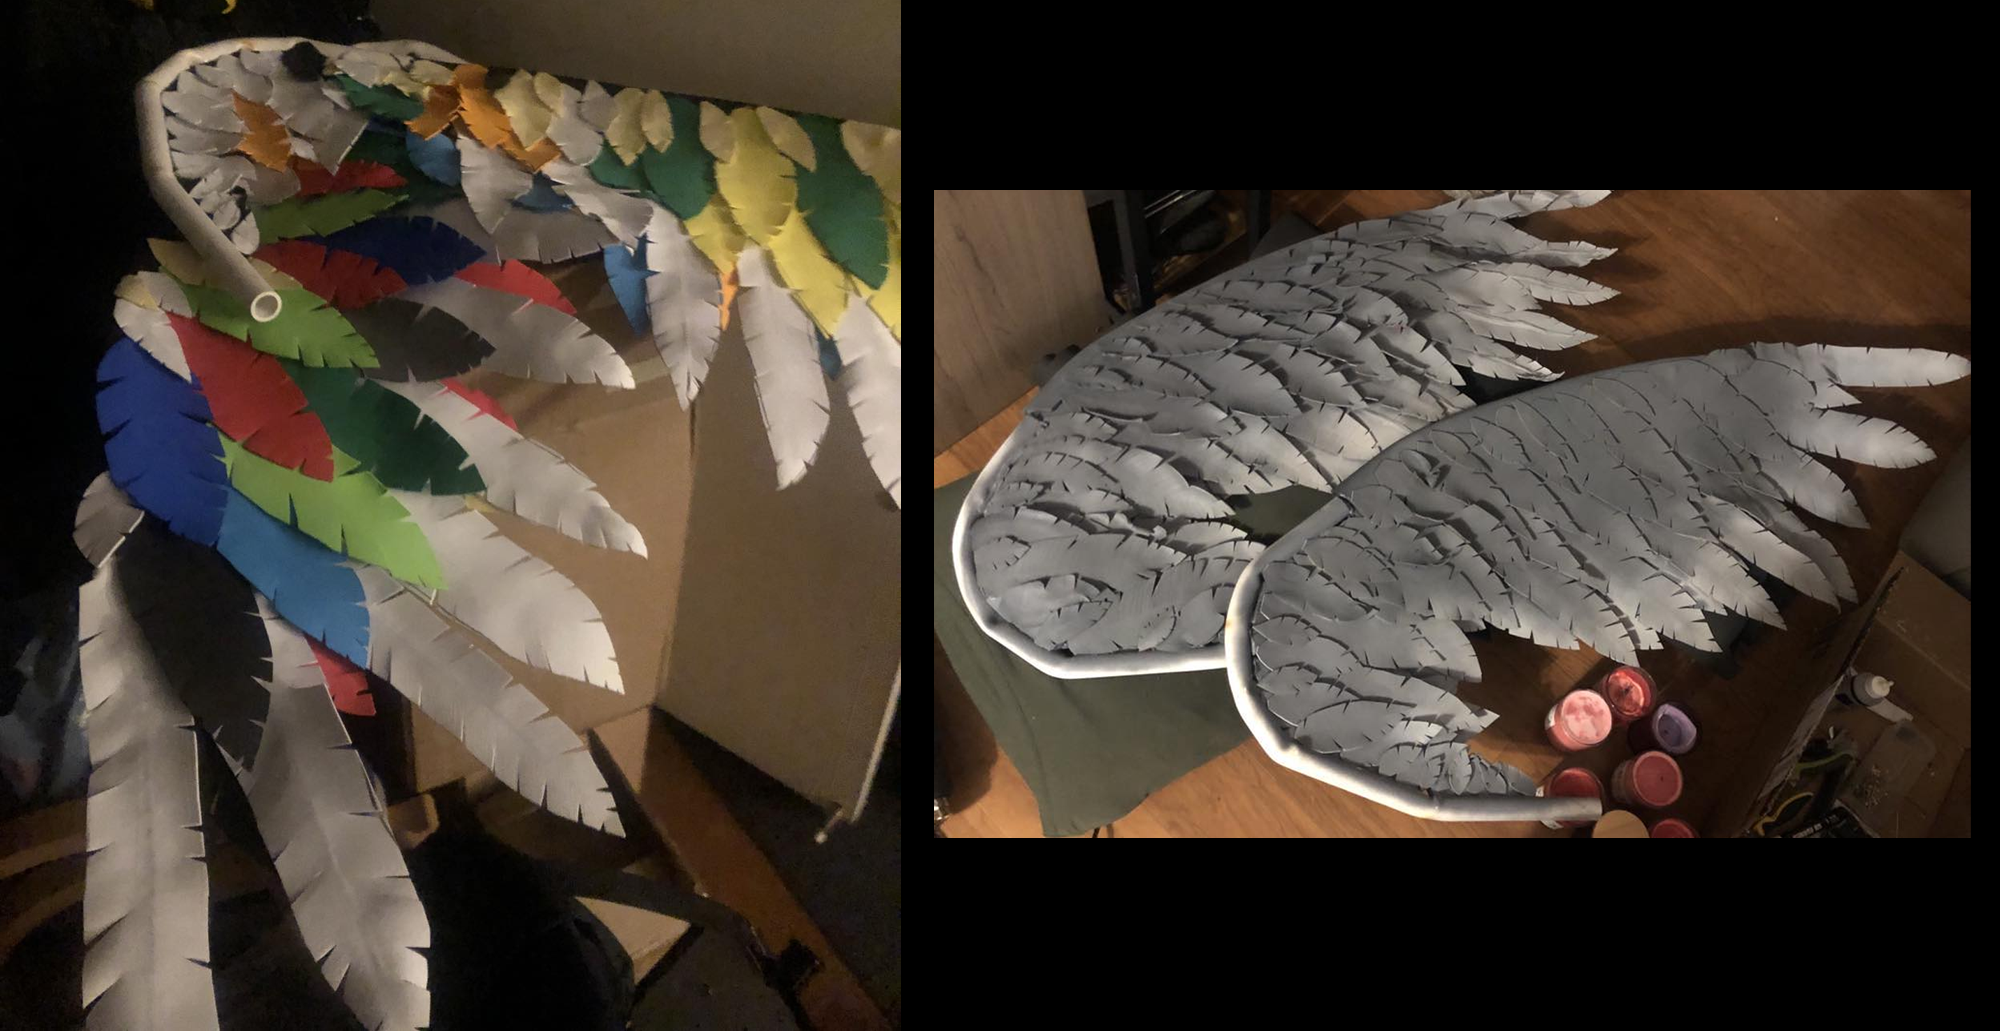
Once your wings are all attached and feathered, you gotta cover up the fact that you used every scrap of craft foam you had and originally made parrot wings. SORRY I DON’T HAVE A BETTER PICTURE OF THEM FINISHED BEFORE THEY WERE PAINTED, I’m really not good as taking WIPs because I pretty much hate how things look until they’re finished.
For spray painting, I did a dark grey primer over as much as possible, and then did a “stone grey” color to try and start adding some dimension and a gradient, and then finished things off with a bit of a white spray paint. Just trying to give them as much dimension as possible with the spray paint because it’s much faster than hand painting.
Enjoy the candle graveyard of test candle scents making an appearance. We do too many crafts for a house with no garage.
Once they are spray painted, it’s time to put the fur on them. YOU COULD also just cover the PVC with small feathers, and that probably would look good too, but I had really liked how Allyson Tabbitha’s wings looked using the fur as the down feathers, so I just decided to go that route.
I first made a pattern with a scrap piece of fabric so I wouldn’t waste a lot of fur. (fur is EXPENSIVE) Keep in mind which side is which and cut the fur with the grain going in the according direction.
For the joints, I just cut out the extra sections to make these little “seams” as the second image shows. Once it’s all glued down and you lay the fur in a specific direction, it pretty much covered the seams. This may not work as well with a shorter fur.
I used pins to keep the fur in place while gluing it down.
Once it’s all down, I did trim it in a few places so that it looks more natural. I also ended up gluing some of the fur down to blend into the feathers. You can also hairspray the fur the keep it going a certain direction/in place.

After working on this project for too long I finally decided to wear gloves to protect my poor fingers.
And then comes a part that I personally thing is extremely important, and that’s just final paint details. Doing some extra weathering, and lighting on the edges of some of the wings. I weather by watering down a black or dark colored paint, applying to shadowed areas with a brush, and then dabbing away excess with a junk towel or paper towel. I do something similar for the highlights, but usually less watered down and with a lighter touch to get a feathered effect.
If you wanted to you could also forgo this step, but I just think a little weathering goes such a long way.

Left side is just spray painted, right side is weathered and highlighted by hand.
the last thing that I think I need to cover is the back place. Again, I mostly just copied Frekki Cosplay, but it summarize:
I had my dad cut out and add holes to a metal plate based on my specifications. (Thanks dad, you rock <3) then was able to attach nylon strapping with a mixture of velcro and buckles for closures.
Then we just screwed on the flagpole holders, and it was ready to go.

From here, you just put on the harness and then place the wings into the flag pole holders and put in the stabilizing screws. They hold in place pretty well, and Sam was able to wear the wings for 5~ hours comfortably.*
(*meaning he didn’t complain about them being heavy, but he is also pretty fit. So take that how you will. I had insisted we add more padding, but he had insisted he was fine without it. It’s totally possible a part of his silence about it being heavy is out of stubbornness in admitting he needed the extra padding ;))

AND SO that was the biggest part of the outfit(s). Pretty much the rest of our costumes was buying premade things and tailoring them or making pieces from patterns, so they’re not nearly as interesting to talk about. Even the pride and joy of my costume in the “Through Love, All is Possible” jacket I designed, is not as visually intense to walk through as I just designed it in illustrator to make a vector and then had the embroidery machine done. I do LOVE how it came out, but there wasn’t nearly as much of a process to document behind it.
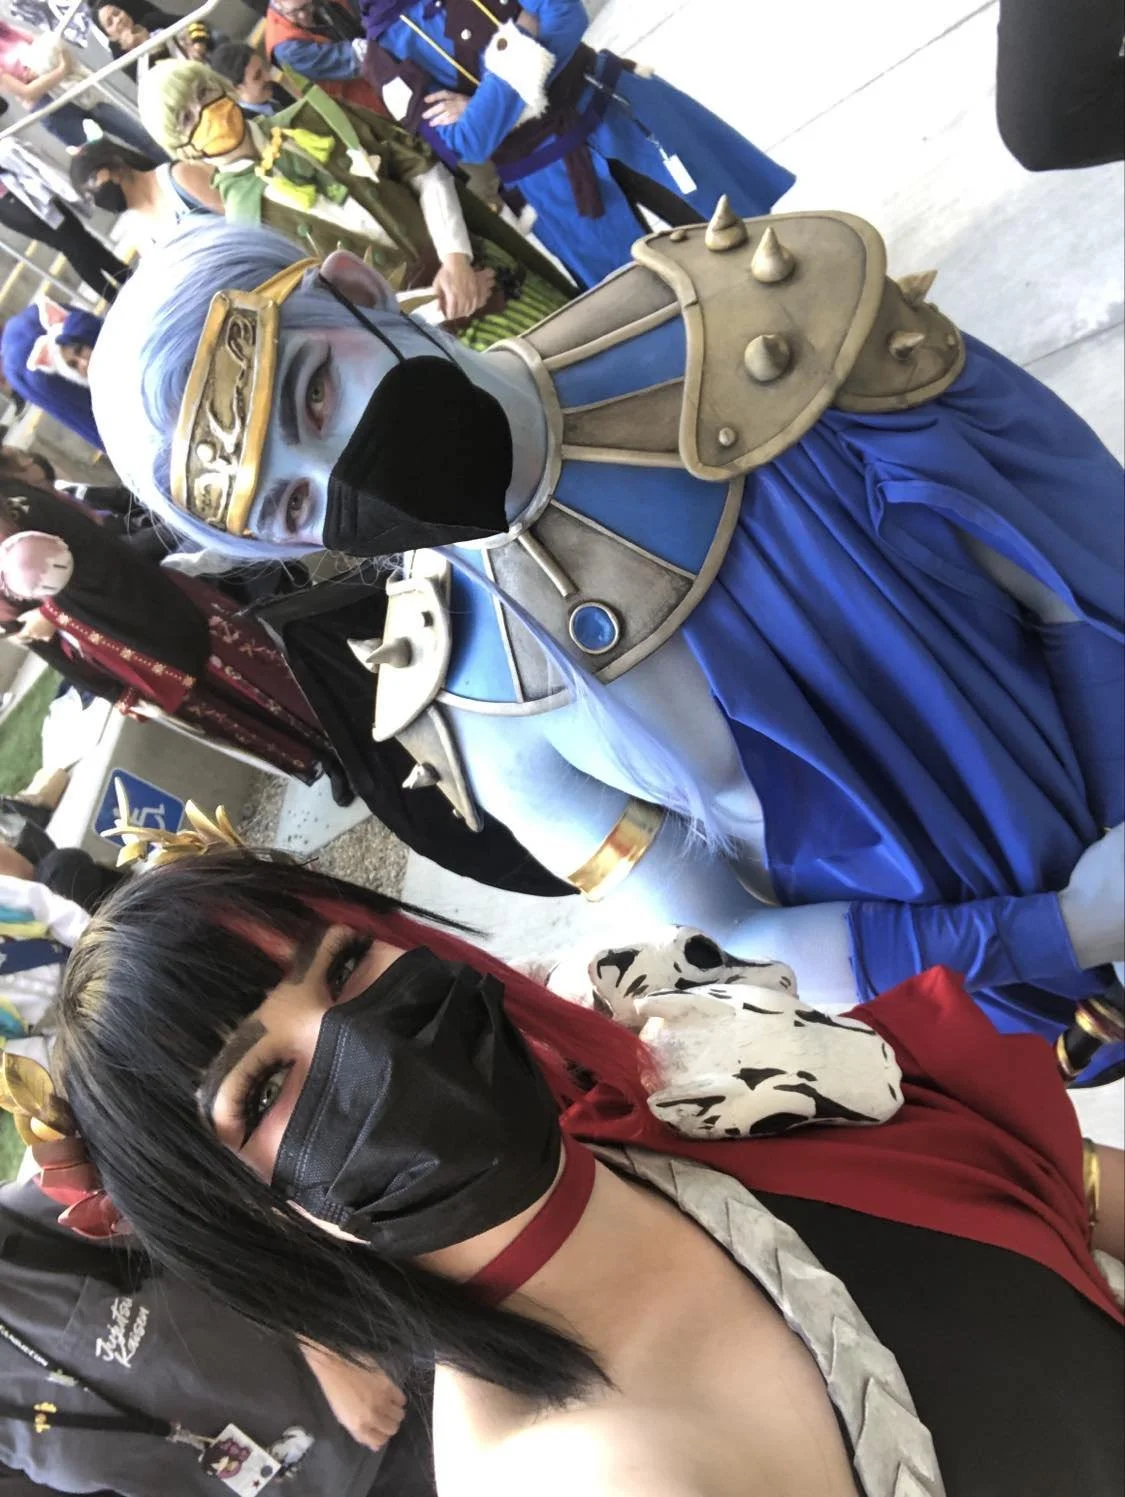
We did a casual look for the initial cosplay contest (and what we hopefully will wear for the midnight release of House of Shadow and Flame!) and then a formal look for the ball itself.
Pour one out for all the angels and illyrians who have to modify all of their shirts to have wing holes. I still don’t understand how they’re supposed to do it, but I also won’t question it. :)

If you read this far, thanks for coming on this journey with me! I hope to geek out with you more about Crescent City or other cosplay projects down the line!